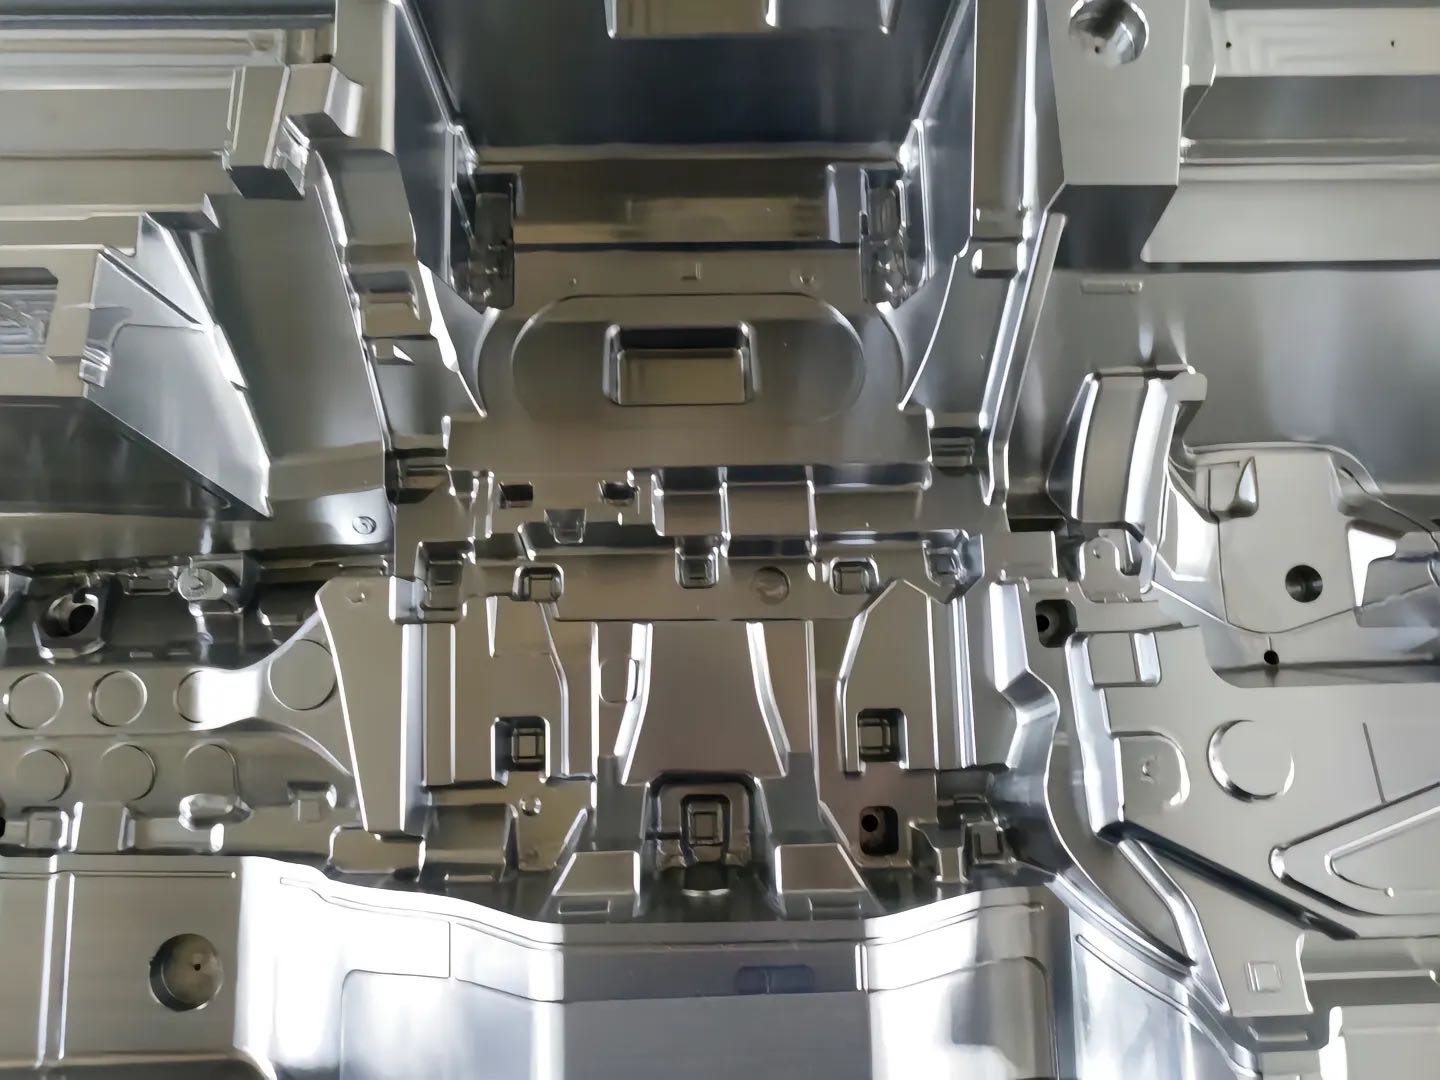
Insert molding is great for making strong, one-piece parts—but it’s not always perfect. Even small mistakes can cause issues like loose inserts or scratchy plastic. At CS Molding, we’ve fixed these problems for hundreds of clients (from electronics brands to toy makers). Let’s look at the most common issues, why they happen, and how to solve them—simple, no jargon.
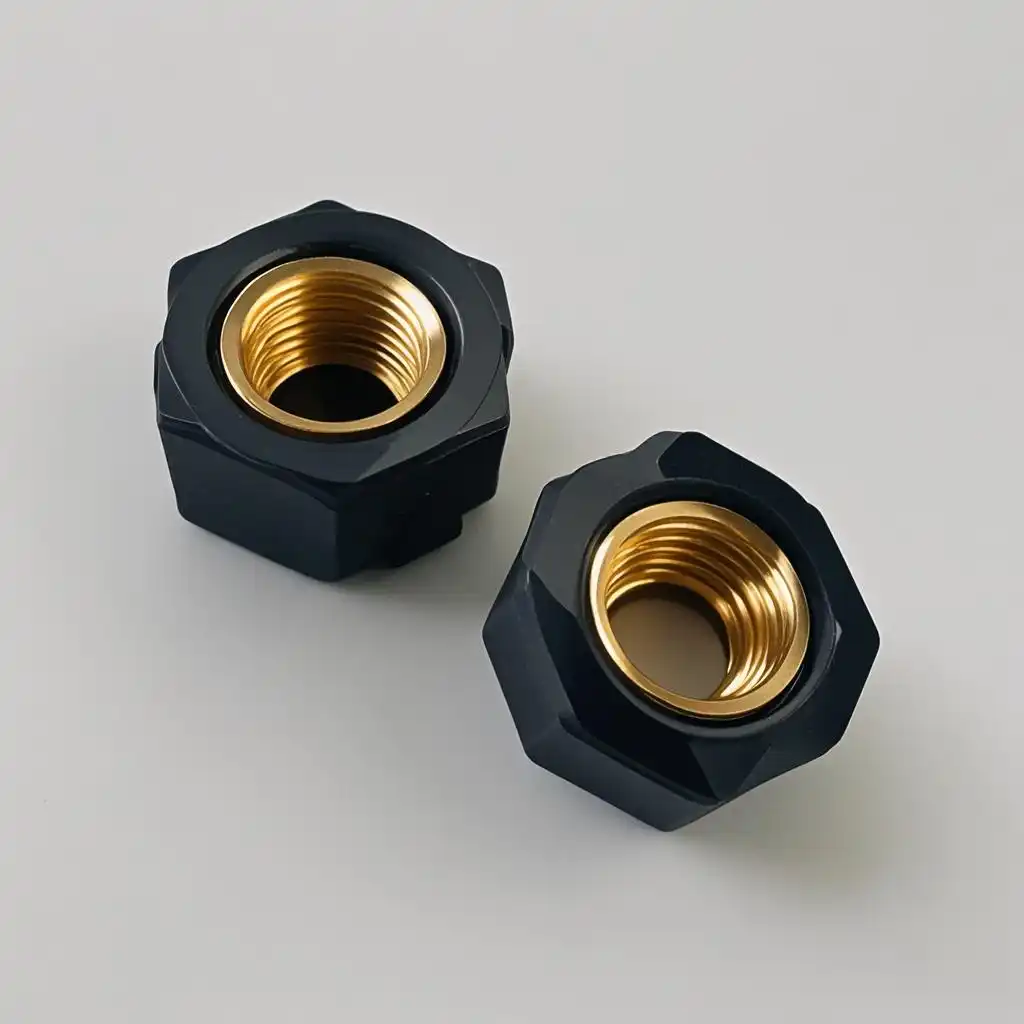
1.Problem Inserts Fall Out of Plastic
The biggest frustration: You pick up the part, and the metal insert (like a screw or pin) pulls right out of the plastic. This makes the part useless.
1.1 Why it happens:
Dirty inserts: Oil, dust, or metal shavings on the insert stop plastic from sticking to it.
No “grip” on the insert: Smooth inserts have nothing for plastic to hold onto. Plastic slides off easily.
Plastic is too cool: If melted plastic cools too fast, it doesn’t wrap tightly around the insert.
2.2 How to fix it (CS Molding’s tips):
Clean inserts first: Wipe inserts with a dry cloth (or use mild cleaner for oil) before putting them in the mold. We do this for every insert at CS Molding—no exceptions.
Add “grips” to inserts: Cut small grooves, notches, or bumps on the insert. For example, a metal pin with 2 tiny grooves lets plastic fill in and lock it in place.
Warm the plastic properly: Make sure melted plastic is hot enough (we check temperature with a simple tool) so it flows around the insert and cools slowly.
2.Problem: Plastic Has Bubbles or Gaps
You open the mold, and the plastic part has tiny holes (bubbles) or empty spaces next to the insert. These gaps weaken the part and look unprofessional.
2.1 Why it happens:
Air in the mold: When plastic is injected, it pushes air into corners of the mold. If the air can’t escape, it turns into bubbles.
Wet plastic: Plastic pellets absorb moisture from the air. When heated, the moisture turns to steam—creating bubbles in the plastic.
Too fast injection speed: Injecting plastic too quickly traps air inside the mold.
2.2 How to fix it (CS Molding’s tips):
Add small “air holes” to the mold: These holes (called “vents”) let air escape as plastic fills the mold. We add vents to all our insert molds at CS Molding.
Dry the plastic first: Put plastic pellets in a dryer (low heat) for 2–4 hours before use. We dry every batch—even if it looks dry.
Slow down the injection speed: Test with a slower speed. If bubbles disappear, keep that setting.
3.Problem: Finished Part Is the Wrong Size
The part doesn’t fit with other components—too big, too small, or the insert is off-center. This means you can’t use the part in your product.
3.1 Why it happens:
Mold temperature is wrong: If the mold is too hot, plastic expands and the part gets too big. If too cold, plastic shrinks too much.
Cooling time is too short: Plastic needs time to harden fully. Taking parts out too early makes them warp (change shape) as they cool.
Insert moves in the mold: The insert shifts while plastic is injected. This makes the insert off-center, and the part size wrong.
3.2 How to fix it (CS Molding’s tips):
Set the mold to the right temperature: For most plastics (like ABS or PP), we keep molds at 40–60°C. We use a thermostat to check every hour.
Wait longer to take parts out: Add 1–2 minutes of cooling time. We test cooling times with scrap plastic first—no guesswork.
Hold inserts tightly in the mold: Use small “clips” or vacuum in the mold to keep inserts in place. At CS Molding, our molds have special holders that never let inserts move.
4.Problem: Plastic Surface Has Scratches or Dents
The plastic part looks rough—scratches, dents, or lines near the insert. This ruins the part’s appearance, especially for visible products (like phone cases or tool handles).
4.1 Why it happens:
Mold is dirty: Dust, old plastic, or metal bits in the mold stick to the new plastic—leaving scratches.
Injection pressure is too low: Plastic doesn’t fill the mold’s small details. It leaves gaps or rough spots.
Insert has sharp edges: A burr (tiny sharp piece) on the insert scrapes the plastic as it’s injected.
4.2How to fix it (CS Molding’s tips):
Clean the mold every day: Wipe the mold with a soft brush to remove dust or old plastic. We do this between every batch at CS Molding.
Increase injection pressure slightly: More pressure pushes plastic into all parts of the mold, including small details. Test with a small pressure boost first.
Smooth the insert’s edges: Use sandpaper to remove burrs from inserts. We check every insert for sharp edges before putting it in the mold.
5.CS Molding: We Solve Your Insert Molding Problems
At CS Molding, we don’t just make parts—we fix problems before they happen. We check inserts, clean molds, and test temperatures to avoid the issues above. If you’re struggling with loose inserts, bubbles, or wrong-size parts, we can help.
We work with you to understand your part’s needs (whether it’s a tiny electronic part or a big tool handle) and tweak the process until it’s perfect. No guesswork—just proven solutions.
If insert molding problems are slowing you down, contact us today. Let’s make your parts strong, smooth, and right the first time.